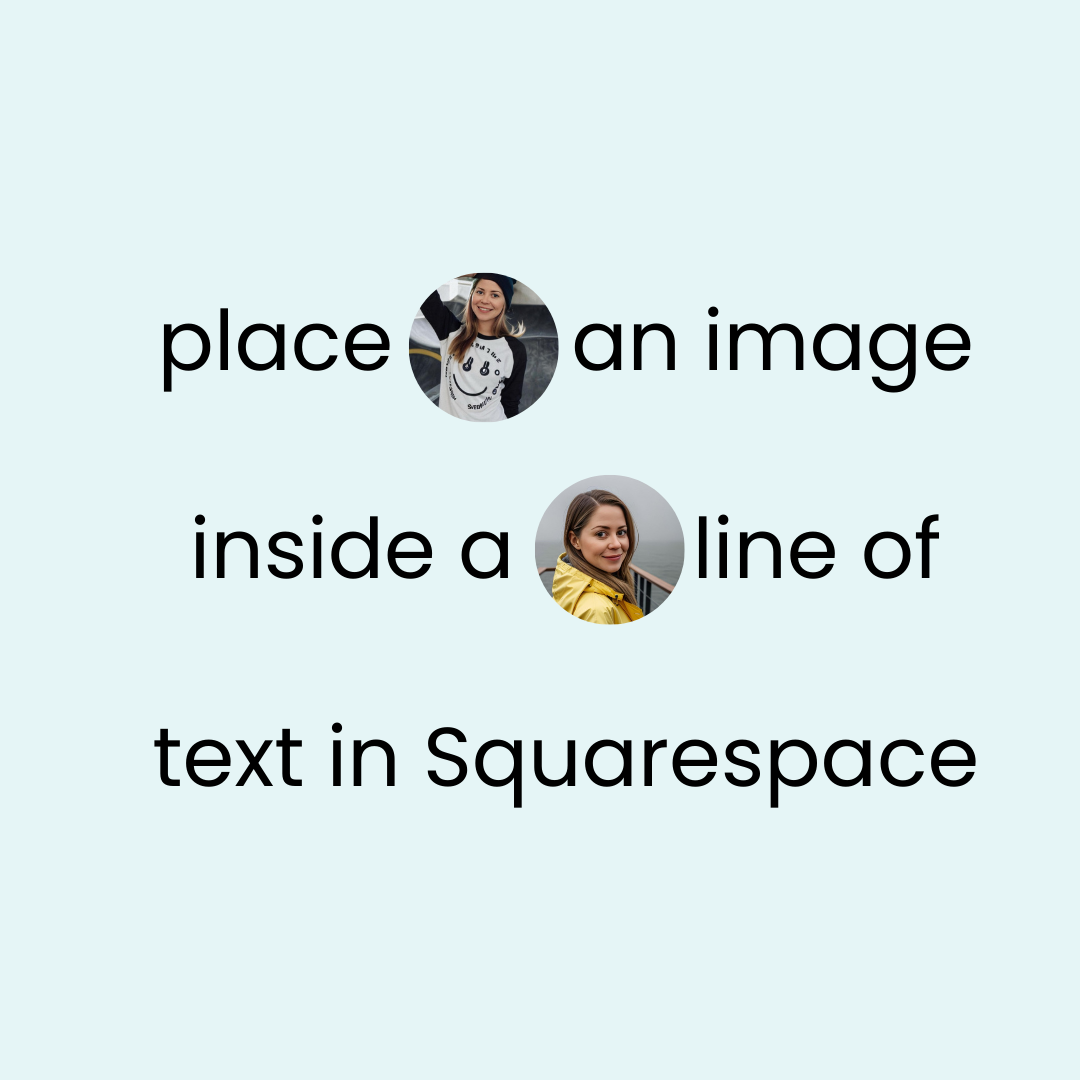
How to add an image inline with text in Squarespace
Squarespace image blocks can do a lot of cool things, but they can’t place an image on the same line of text. Luckily, with a markdown block and a little clever code, we can do just that!
This tutorial will show you how to have an inline image using a markdown block in Squarespace.
There are quite a few steps involved here, and two different sets of code for you to use. I’ve outlined it all for you below! You can also watch the tutorial video but know that part of it is outdated; to add custom code we now have to navigate to website, then website tools, then custom CSS. Everything else is the same!
Important update: Squarespace made changes to the program menu in May 2025. If your menu looks different than the video, press the / key to open the program search and search for Custom CSS to navigate there directly.
STEP 1
Add a markdown block with special placeholders for the images that you want in line with your text. Make sure that you update the label in the quotation marks so you have a unique class for each image you want to use. We’ll use that name again in step three. In this example, I have three different images.
/* markdown html code from insidethesquare.co */
<h1> Add some text with an
<span class="image1"> 00 </span>
here is a second <span class="image2"> 00 </span>
and here is a <span class="image3"> 00 </span> third.
STEP 2
Upload the images to your custom files. JPG, PNG, and GIF files will all work. To upload them to your custom files, navigate to Website > Website Tools > Custom CSS > Manage Custom Files
STEP 3
Update the custom code to your image URL and customize the code to place your images in the spots that you created.
/* inline image code from insidethesquare.co */
.image1{
color: transparent;
background-image:url(first-image-url-here);
 background-size:cover;
 background-repeat:no-repeat
 }

.image2{
color: transparent;
background-image:url(second-image-url-here);
 background-size:cover;
 background-repeat:no-repeat
 }

.image3{
color: transparent;
background-image:url(third-image-url-here);
 background-size:cover;
 background-repeat:no-repeat
 }

